Scraps of Darkness
Halloween Blog Hop
Welcome to the Scraps of Darkness Halloween Blog Hop. The Scraps of Darkness Design Team has created some inspiring projects for this Halloween season. It's all tricks and techniques so join us on a jouney of darkness, hopping from blog to blog. Leave your comment on each blog in the hop in hopes of winning a prize.
Big prizes will be awarded at Scraps of Darkness and individual prizes on each Scraps of Darkness Design Team's blogs as well, so there are a ton of chances to win and you can even win more than once!! Our hop will run from the 15th through the 16th with winners being announced on Monday October 17th!!! !!
The Scraps of Darkness blog will be giving away two KITS as well as prizes being given out at each of our DT's blogs!! The chances of winning are huge and you can even win more than one prize!!!
Oh my, look at this Spooktacular prize that you could qualify to win from Scraps of Darkness.
To qualify to win the Scraps of Darkness prize, you must become a follower on the Scraps of Darkness blog and leave a comment on each Design Team Member's blog, including Scraps of Darkness. International and Domestic shipping will be provided for the Scraps of Darkness Prize!!
To qualify to win the prize on my blog, you must become a follower of my blog and leave a comment on each Design Team members's blog including Scraps of Darkness Blog. A random drawing will occur to determine the winner of the prize on my blog. Sorry, no international shipping for the individual drawing on the Pretty Pile of Paper Chaos.
Individual Prize
Blog List:
Happy Hopping
Hello, Charlotte here and I wanted to share the layouts I created using October's "All Hallows' Eve kit from Scraps of Darkness. Love this kit so fun! You can create beautiful fall pages with this month's kit. If lean toward the dark side, you can create some spooktacular pages.
Time Ends
Time End Detail
The sketch LO " Quiet, Something Splendid"
Details of "Quiet, Something Splendid"
Oh Mother....
The next layout is for the Halloween Movie Contest sponsored by Scraps of Darkness. My favorite horror
film is "Psycho". I used photo from the original and modern film, however the original is my favorite. This movie freaked me out as a child. I hated to take a shower in a motel. Ugggg, that creepy Norman Bates. I used a piece of wax paper to try mimic a look of a shower curtain with a hand print, oh course a signature of the movie Psycho.
Detail of Oh Mother.....
Detail of Oh Mother.....
Detail of Oh Mother.....
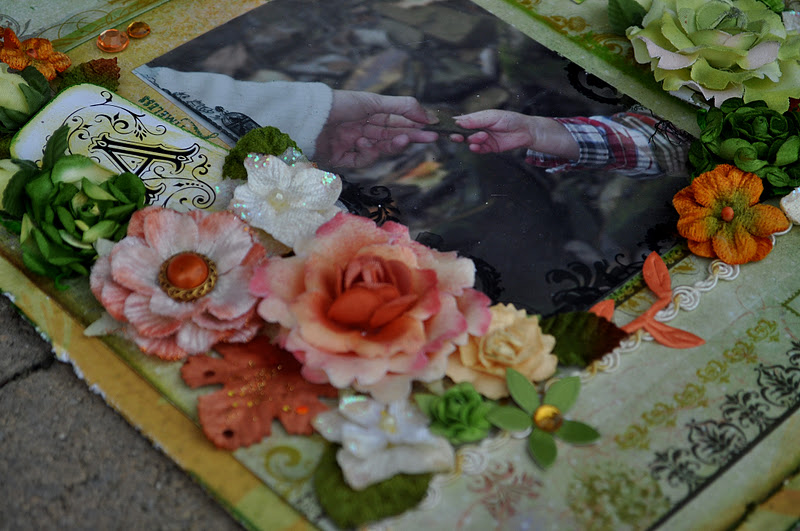
His Promise
I love just how versatile October's kit is, you can go soft or really dark!
Detail
Detail
Detail